Building a Successful Tree House

wallside-windows-treehouse.jpg

tree house with light on Preliminary Steps

Your son has hit the age where he has a consistent group of friends that always hang out with one another, and he’s built up the courage to ask if you can build him a treehouse.  You realize this is going to be a tough task so you start gathering up the tools necessary to start building, but what is there to do before you even pick up a hammer.  It’s important to consult with the local planning department about height restrictions as well as needing a building permit.  Make sure you have a chat with your insurance agent about it too.  You're going to want to double check your homeowner’s policy to make sure treehouses are covered.  It’s also not a bad idea to talk to your neighbor just to be courteous and make sure they don’t mind if you build one, especially if it sees over into their backyard.  


Is the Tree Sturdy Enough?

When you’re examining the tree that you’re going to use for your son’s new hiatus the key elements to make sure of are making sure there is a thick sturdy trunk as well as branches, and make sure the tree is clean of any diseases or parasites that will weaken the foundation.  The method that is the easiest, safest and least harmful to your tree is by the post method where nothing is actually being supported by the tree itself, but just built around the tree.  This allows you, the builder, to be in more control of the stability of the tree.  You stick support posts into the ground around the tree, and build from there.  


Although, windows would be a great addition to any tree house, Wallside Windows doesn’t do installations on treehouses.  A window that does need replacing on your normal house would be no problem for Wallside WIndows as we have the best vinyl replacement windows any company can offer.  As far as the treehouse goes, your best bet is to probably cut out a square in the side of it that you can stick your head out of.  


Building and Finishing Touches

When actually building the house, you’re going to need many different shapes and sizes of wood depending on the size of the tree and the house itself.  As far as building an access method to the tree house, the easiest method would be to install a normal wooden ladder that sometimes comes already made at hardware stores.  They come already made for bunkbeds sometimes so, if you get lucky enough to find one it cuts some work out for you.  If you want something more creative, the rope ladder always looks good plus it’s easy to construct and climb.  Just be sure to take extra caution with these two styles of access because you don’t want to slip and hurt yourself.  For extra safety, you can get a couple bags of mulch to surround the tree house or just the ladder area specifically so in case a fall does happen, the landing is cushioned.  


When everything is said and done,  your child will be happy that you put the time and effort into building a treehouse for them and their friends.  Remember to make sure you’ve contacted everyone necessary before you start building, and make sure you have the adequate amount of help needed from your friends to help you put everything together, but most importantly have fun!

Beginners Guide to Growing Vegetables

wallside-windows-vegetables.jpg

basket of vegetables There are so Many to Choose From

Springtime has come about and you’re in the mood for growing some vegetables in your garden this year, and hope that they taste exactly or better than the ones you’d get from your local farmers market.  You’re not picky though and can’t figure out which veggies to plant and grow into perfection.  With so many choices at your disposal you’re up in the air about what you should grow.  For beginners though there are specific vegetables that are easier to grow than others.  Also, you want to make sure that whatever you do choose to grow that they look good next to your beautiful vinyl replacement windows installed by Wallside Windows.

Carrots

Bugs Bunny’s favorite food is said by many as the easiest to grow because all of the growing occurs below the surface that you plant the seed in.  You can find a deep pot to grow carrots in, but your best bet is to grow them directly in the ground in some healthy soil.  Make sure seeds are planted a few inches away from each other so, they don’t interfere with one another.  Also, make sure the soil isn’t rocky either because it could make for some crooked, not great looking carrots.  After around 70 or 80 days of proper maintenance to the carrots they should be ready to pick, but just to know for sure that they’re ready to be picked, watch for the orange top of the carrot just above ground.  If you see that, then loosen the soil around the carrot before you yank it out.   

Lettuce

One benefit to growing lettuce is that you don’t need much seeding to produce a ton of lettuce as one packet of seeds can sometimes produce 30 to 40 pounds of lettuce.  Be sure that before you start planting your seeds that you make sure the soil has a bunch of compost in it because lettuce needs to be constantly fed, and the pH level needs to be neutral as well.  As the lettuce is growing over the days be sure that all your plants aren’t in an area that has high heat levels.  If it’s too hot your lettuce can turn bitter real quick.  After proper maintenance, your lettuce will be ready to pick in 50 days, but don’t pull the whole plant out.  Only the outer leaves will be good for picking while the rest will be good to pick after another 30 days or so.

Tomatoes

Tomatoes are probably the most popular vegetable/fruit to grow among gardeners around the United States.  You can yield so many tomatoes with just a few plants.  To be exact, you can feed an entire family for a whole summer with just a couple of plants.  Again, you’ll need compost filled soil to in order for healthy tomatoes to grow successfully.  You’ll have to plant seeds a couple feet apart so there’s no interference involved along with planting a stake in the ground where the seed is to make sure the plant stays supported during growth.  The best part is that as soon as the tomatoes start showing their red color you can pick them off, or you can simply wait until the tomatoes fall off the plant to wash them and eat them up.

Properly Cutting Down a Tree in Your Yard

Wallside-windows-falling-tree.jpg

Wallside-windows-falling-tree 
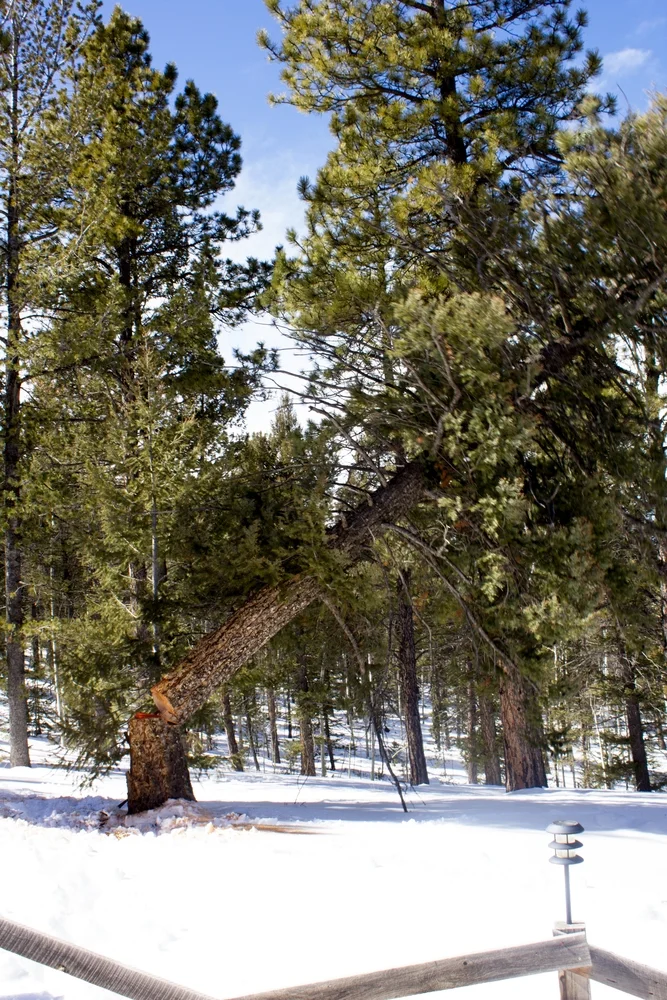
Preparing and Safety Precautions

So, you’ve decided that hiring a tree cutting crew is way too expensive for you, and have chosen to take matters into your own hands.  There are many safety measures that you should take in order to make sure everything goes smoothly starting with the gear that is required before you even pick up a tool.  Safety goggles, a hard hat, gloves, boots and jeans are the things that absolutely need to be worn before you pick up a chainsaw or an ax and go to work.  All these insure that you won’t be affected by the dust or any flying piece of wood that may fly off from the tree.

Investigate your surroundings

Now that you’ve got all the proper clothing and tools, take a look at the area around you.  When figuring out which way you’d like to have the tree fall it’s important to know that the tree you're cutting is probably bigger than you think.  You can try performing the “ax trick” which allows you to estimate where the top of the tree will fall, and be sure to clear everything out of the way before you start cutting.  It’s also important to know where to get out the way when the tree is falling.  The safest place to go is a 45 degree angle away from the direction that the tree is falling.  Size up the tree like a boxing opponent.  If you notice the tree swaying a certain direction or notice that there are a lot more branches on one side than another, this could skew the direction in which you think it will fall.  The last thing you want is for a tree to fall toward your house a shatter that vinyl replacement window you just had installed by Wallside Windows.

Timber!

Now you’re finally ready to cut that tree down.  You need to perform a notch cut which is a triangle like cut into the side of the trunk of the side that you want it to fall on.  Next, wedge the opposite side of the trunk where you performed the notch cut.  Simply just saw a line into the tree not too deep to stick the wedge which will help the tree fall in the direction where you have the notch cut.  It’s important that you should always have someone helping you at all times.  Especially, when you’re performing the cut so they can have a constant eye on the tree and making sure it’s falling in the right direction.

It’s important to know that even though you’ve taken all the precautionary measures you can, and you’re sawing away at that tree, you really never know when it’s going to start falling.  Don’t panic because you’ve done all you can to make sure the tree will fall gracefully to the ground with a loud bang.  If you do happen to break a window, remember to contact Wallside Windows because that’s where you can get the best vinyl replacement windows.

Painting a Room Perfect

Wallside-windows-painting.jpg

couple painting room When to Paint a Room

Painting a room in the house can be a stressful task, especially if you weren’t planning on it.  Many rooms are painted right after one moves into a house because the certain color of a room isn’t liked, but sometimes there are instances where rooms have to be re-painted because the previous paint is falling apart or peeling off the wall.  There could also be an instance where the color is fading or discoloring.  This happens often when smoking occurs in the room or if the paint has just aged to the point where it looks faded.

All I need is Paint and a Brush, Right?

To perfect the look of a freshly painted room there are some steps that are required before you even put a paint brush on the wall.  The wall needs to be cleaned before you apply painters tape to the edges and corners of the wall.  You should especially put painter’s tape around the window in the room because you don’t want to get paint on any window, which would look tacky as a result.  Next you need to apply primer to the wall which maximizes the vivid effects of the color.  Then, after brushing around the corners where you can’t use a paint roller, you’re ready to go to work using the “W” technique with the roller which maximizes the space covered on the wall until you’ve covered the whole wall.

This is Getting Messy

There are many truths and myths about paint and if it can stain your skin or your clothes.  The truth is if you can get to it before it dries it will come off if you clean it properly whether it’s on you or your clothes.  It’s recommended that you don’t wear your best shirt when you’re painting though so you don’t have to worry about cleaning right away.  A can of paint can go a long way, and this is the case because you’ll need two or three coats of paint possibly just to make sure there are no spots that you didn’t see or forgot about.  For a standard room in a house it usually takes around two cans of paint to complete.

While you’re making that room look best as can be, it’s suggested you update your windows too, and the best way to do that is by using Wallside Windows.  An expert can come out and give you a free estimate just in case you’re not sure how to approach that step.  Start prepping and painting that room in your house that you’ve been wanting to for months now. As long as you follow these short steps, you’ll be on your way to a fresh looking room in no time.

Maintaining Your Gutters

Wallside-windows-gutters.jpg

cleaning gutters What’s That Smell?

Make sure your gutters are kept clean can be a daunting chore that should be done at least once a year if not twice.  Leaves falling off in autumn can easily land in your gutters and clog them up and create a monstrosity of problems once the rain and snow accumulates up there possibly damaging your gutters for good forcing you to purchase new ones.  Also, leaves and sticks can become slimy and smelly if left up there soaking in water for over a week.  Besides just knowing that you have to clean them out there are some questions that you probably have still.  When is the best season to do it? What’s the easiest way to do it? These are just two of the questions that any new homeowner may have when it comes to cleaning out gutters.

Fall Cleanup

Obviously, cleaning out your gutters may not make much sense if you do it in the middle of summer when more than likely all the leaves are still on the trees.  If you only plan on cleaning out your gutters once a year then your best bet is to do it at the end of fall in November.  Although, it’s easy to tell if all the leaves are off the trees that are near you by just looking up.  It’s probably not a bad idea to do it twice a year, and have the second time that you clean out the gutters be near the end of summer especially if you’ve been a victim of any nasty thunderstorms that have occurred throughout the season.  Those storms can carry debris you had no idea could make it up that high, but it is possible.

Can I Grab This With My Hands?

There are plenty of tactics to flush out all the leaves and debris that’s possibly clogging out your gutters though.  The most popular choice is the simple old-fashioned tactic of throwing on some rubber gloves and digging right in.  After you’ve gotten ahold of all that debris though, try throwing it on concrete or on a tarp so it doesn’t ruin your lawn.  Make sure you don’t get any muck on any windows you have too because you’d just be creating another chore to do. If you happen to accidently damage your windows though, just contact Wallside Windows, and an expert will be out in no time to aid you on the next steps you should take.

Gutter cleanup probably isn’t your most favorite thing in the world to do, but after you’ve taken the proper steps to make sure they are clean, you’ll be thankful because you won’t have to deal with this chore for another year.