


Reasons to Renovate Your Home It's easy to find a list of home improvements projects that can enhance the appearance of your home, but it might be harder to work up the motivation and find a good reason to go through all that effort. It might help to know that implementing some of these ideas can make your home more appealing to potential buyers and also increase the value of your home. In addition to livening up your home, many home improvement projects also carry extra benefits you might not notice right away!
Enhancing Your Home's Curb Appeal
Improvements such as updating the landscape, replacing the roof, adding siding or painting the exterior of your home can enhance your home's curb appeal. Curb appeal is considered one of the most important aspects of maintaining a home’s perceived value and attracting potential buyers when it’s time to sell! Adding features such as a blooming garden, ornamental outdoor lighting, or replacement windows can make a dramatic difference in how your home looks to those passing by or driving into your driveway.
Updating the Interior of Your Home
Many interior updates or improvement projects such as replacing flooring, painting, and updating appliances can impact your home’s interior in a positive way. New flooring has been shown to help a home maintain its value more than many other remodeling projects, and a fresh coat of paint can both change your home’s look and draw the eye of anyone looking to purchase your property. You’d be surprised what a positive change this can make for the appearance of your home, its value, and even your mood!
Improvements that Offer More Than Looks
Any time a home improvement project can yield multiple benefits, you should put it at the top of your priority list. For example, installing more energy-efficient windows can help reduce your heating and cooling costs, or renovating your bathroom can reduce water usage and further lower your utility bills. Potential buyers are always looking for completed projects that will save them money over an extended period of time, and you can consider it a return on your investment!

 When to Take Notice of Your Driveway
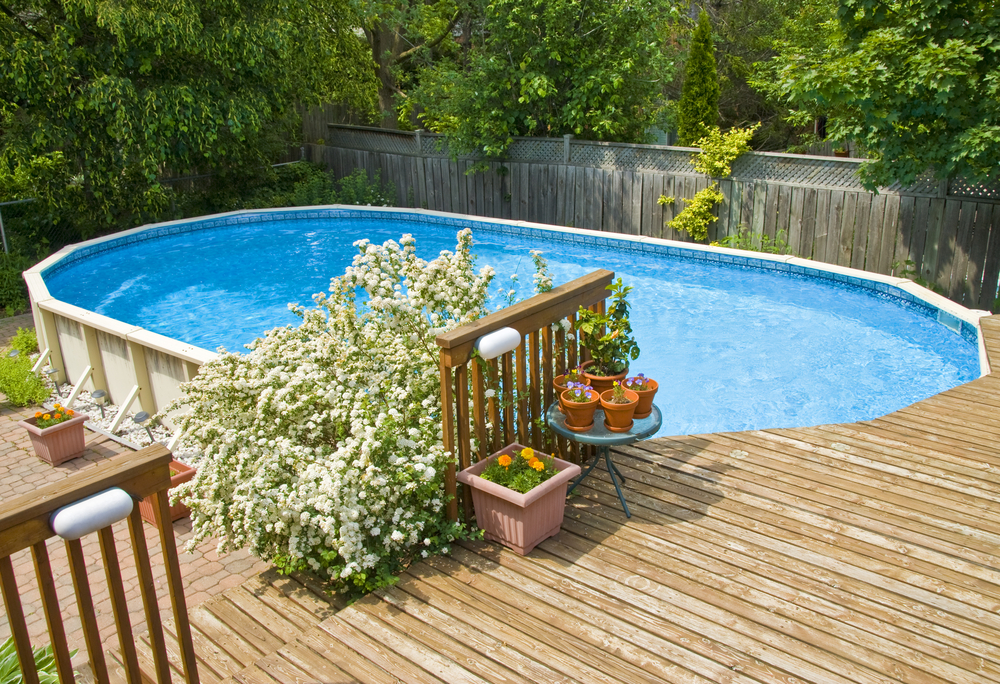
 Why do you Want a Pool?
 Keep it to Yourself
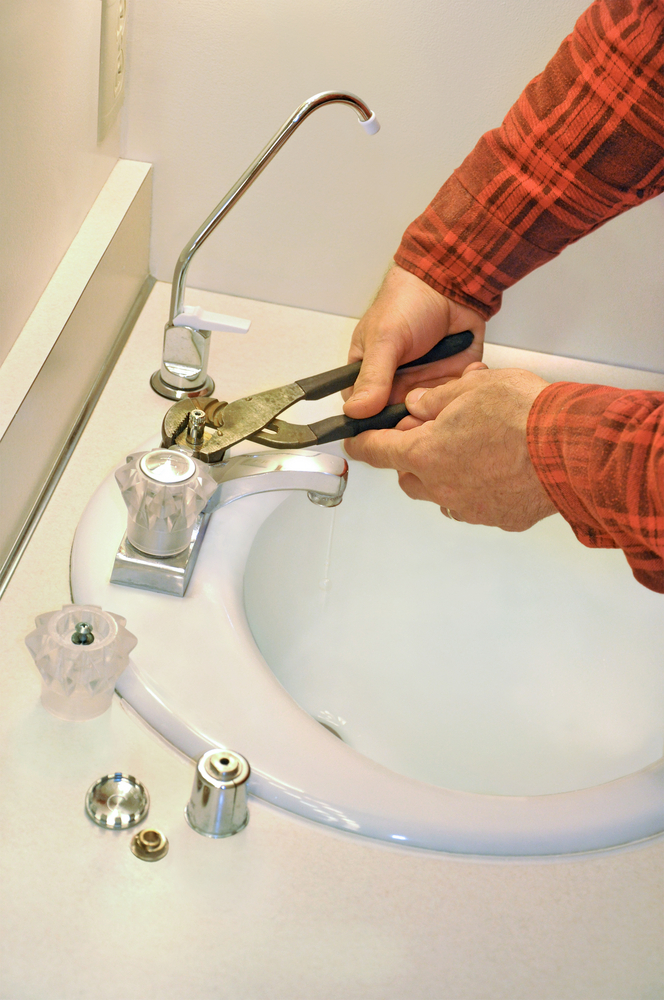
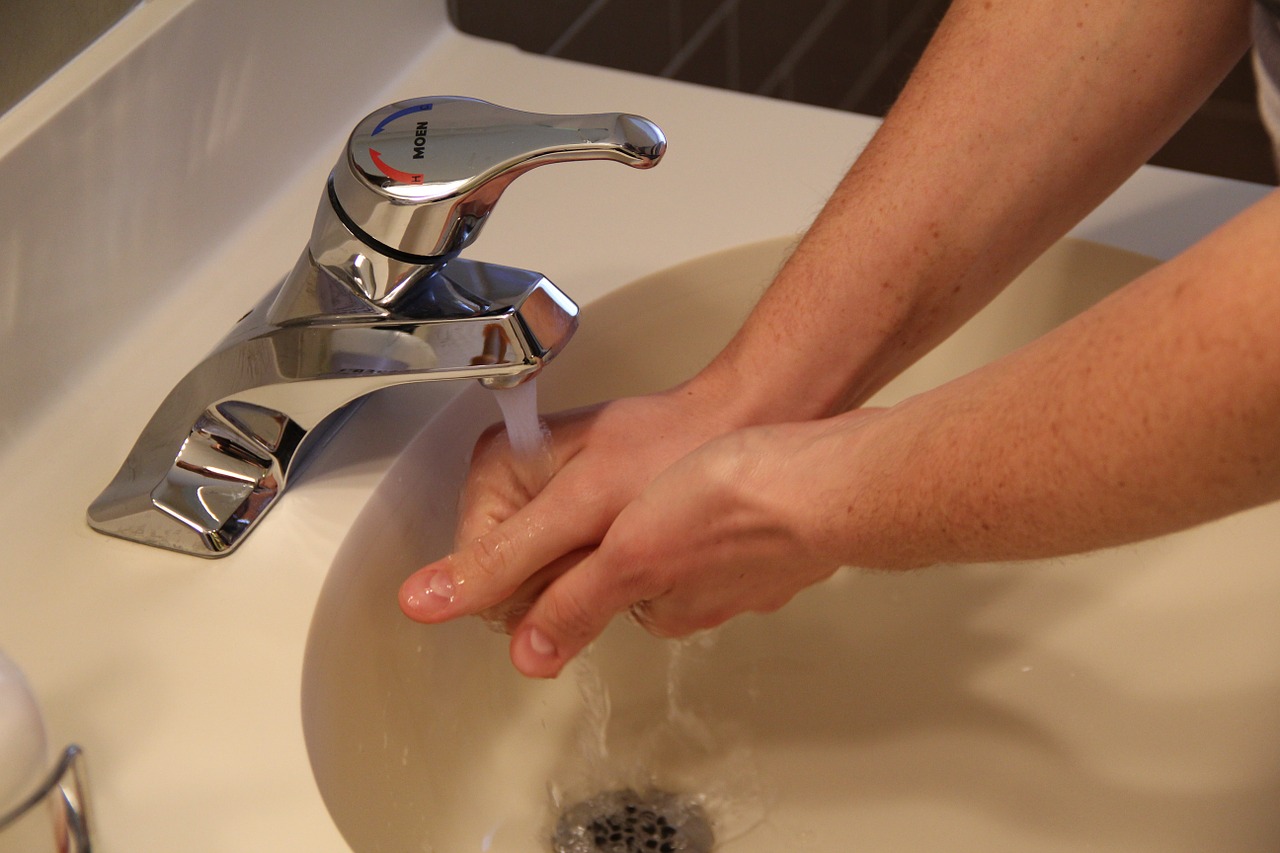
 Drip Drip Drip